How to find iPhone burst photos and keep just one
Open Photos on your iPhone, find your bursts under Media Types, open one and tick the frame you want to keep as an individual photo. On a Mac, Apple's Photos app can keep only the frames you select and send the rest to Recently Deleted, while Yado treats a burst as one library tile and exports or deletes the files behind that tile together.
Find the burst before deleting anything
In the current Photos layout, tap Collections, scroll to Media Types, then tap the type that holds bursts. Apple's media-type guide describes this way of narrowing the library. Open a burst from there rather than selecting its thumbnail for deletion in the main grid.
Inside the burst, tap Burst (number) to see its frames, tick the circle on each photograph you want as an individual photo, then tap Done. Apple's guide describes this step as saving the ticked frames as individual photos, so open the burst again afterwards to see what is left of it. Apple's Burst mode guide shows the frame selection controls and the gray dots marking suggested shots.
Those dots can narrow your first look, but compare the detail that matters to you. For a moving person, that might be an expression rather than the moment with the least movement. Keep two frames if both matter. The purpose of opening the sequence is to make that choice before removing the alternatives.
The delete button on the unopened burst has a different scope. Apple's guide says it deletes the entire burst. A thumbnail of the best-looking frame therefore does not mean that tapping delete will discard only that frame or keep it automatically.
Keep one frame on a Mac with Photos
If the burst is already in your Mac's Photos library, use Apple's own picker there. Import the sequence first if necessary, following the iPhone-to-Mac transfer guide. These controls work on the burst in the Mac library, so check which library you are changing before you delete anything.
- In Photos, open Bursts under Media Types in the sidebar.
- Double-click a burst, then click Make a Selection at the upper left.
- Click the one frame you want, or several if you want more than one.
- Click Done, then Keep Only Selection to discard the other frames.
Choosing Keep Everything instead makes the selected frames appear individually while retaining the original burst. With Keep Only Selection, the unselected frames go to Recently Deleted and the burst disappears from Bursts. Apple documents both outcomes in its Mac burst guide.
This is the useful distinction when a cleanup seems to have done nothing. Saving a favorite as a separate picture and keeping the full sequence can be intentional, but it leaves the remaining frames available. Check the confirmation you chose before trying a second cleanup tool.
Why one burst can produce many files
A burst looks like a single picture in the library because one frame represents the sequence. The other frames still exist. In the iPhone library that Yado reads, those frames carry the burst's identifier and visibility information, which lets Yado associate them with the visible cover.
The photo grid and the file export consequently count different things. Yado draws one tile for the grouped burst, but the phone's DCIM storage can hold a separate image file for each frame. Selecting that tile does not reduce the burst to its cover image.
Yado expands the selection to the associated files when exporting, and does the same before deleting an exported selection. More files in the destination than tiles selected can therefore be expected. It is not, by itself, evidence that the export made duplicate copies.
That behavior also means the cover is not a frame-level deletion control. If your goal is one keeper on the phone, choose the keeper in Apple's Photos app first. If your goal is to archive the sequence on the Mac, export the grouped tile before reducing the burst.
Export a complete burst with Yado
Yado's photo browsing requires a USB cable, even when the phone is available for other tasks over Wi-Fi. Connect and unlock the iPhone, complete its trust request if prompted, then open Photos in Yado. It requires macOS 14 or later.
- Choose Library, then open the Recents menu and select Bursts, which is listed only when the phone holds a burst.
- Wait for the library and its burst grouping to load.
- Click Select Photos in the footer and select the burst tiles to archive.
- Click Export to Mac and choose the destination folder.
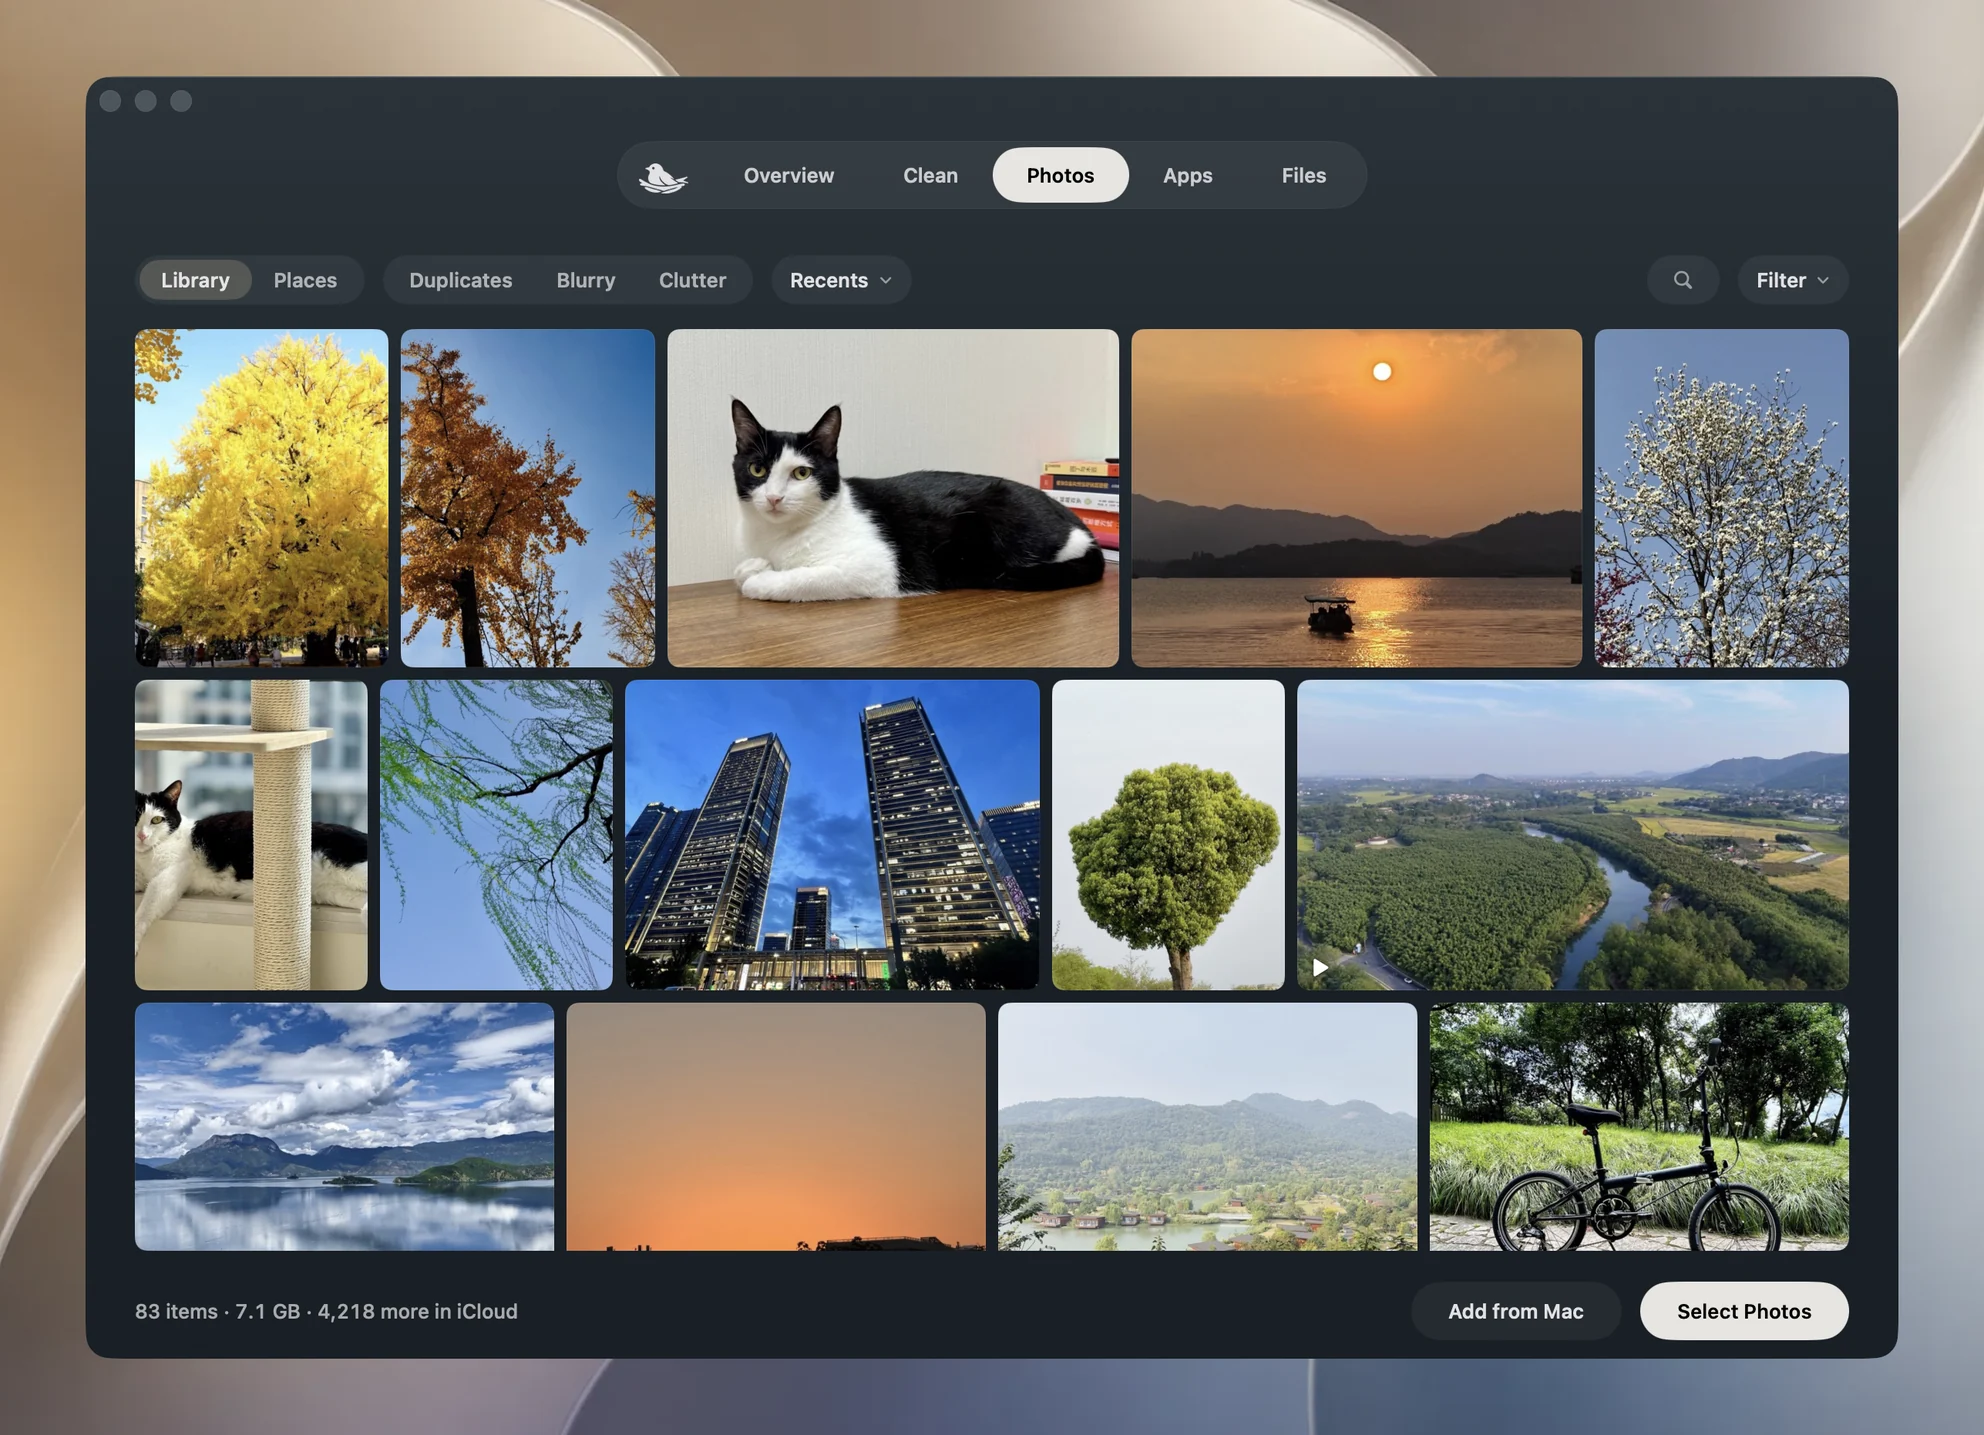
Yado places the export in a Yado Media folder inside the chosen destination, reusing a matching export folder for that iPhone or creating a numbered folder when necessary. Click the completed export's result in the footer to open its destination and inspect the pictures.
Open the frames you care about before reducing the phone's sequence. A cover thumbnail proves only that you can see one frame. Likewise, an export of files currently on the iPhone does not promise to fetch originals that exist only in iCloud.
If you intend to remove the entire archived burst, Delete from iPhone becomes available for a verified selection. Yado checks the exported files again before deleting, including their recorded source, size and content digest. This action applies to the files behind the selected tile, so use Photos for a choice between individual burst frames.
When iCloud Photos is enabled or its status cannot be established, Yado also needs evidence that an exported photo includes the original. Photos whose originals cannot be established stay on the phone. An export completing and a deletion being allowed are therefore separate results.
Check the result and recover a mistaken deletion
After keeping only selected frames, find the retained photographs in the library and open them. Check the actual expression or action you chose, rather than judging success only by a lower item count. If you kept the full burst, expect it still to be available as a sequence.
For a mistaken deletion, open Photos, tap Collections, then find Recently Deleted under Utilities. Unlock the album, select the affected photographs and use Recover. Apple's recovery instructions give deleted items a 30-day recovery window. Permanently deleting them from that album removes this recovery option, so leave it alone while checking your choices. The Recently Deleted guide covers that separate step.
With iCloud Photos, a deletion also reaches the other devices using the same library. A synced Mac library should not be treated as an independent copy of a burst you are about to delete. Make an export you can open if you need a separate archive.
Several similar photographs taken with separate shutter presses need a different review. They may not be one burst at all, even if the scene barely changes. For those, use the duplicate and similar-photo guide rather than assuming a burst picker will collect them.